Vnet to Vnet connectivity is used to set up a connection from one virtual network to another network using virtual network gateway.
The connection from one region to another flows through Azure backbone network instead of the Internet.
This guide is intended to give detailed steps to configure Vnet to Vnet connectivity.
Let’s start by creating:
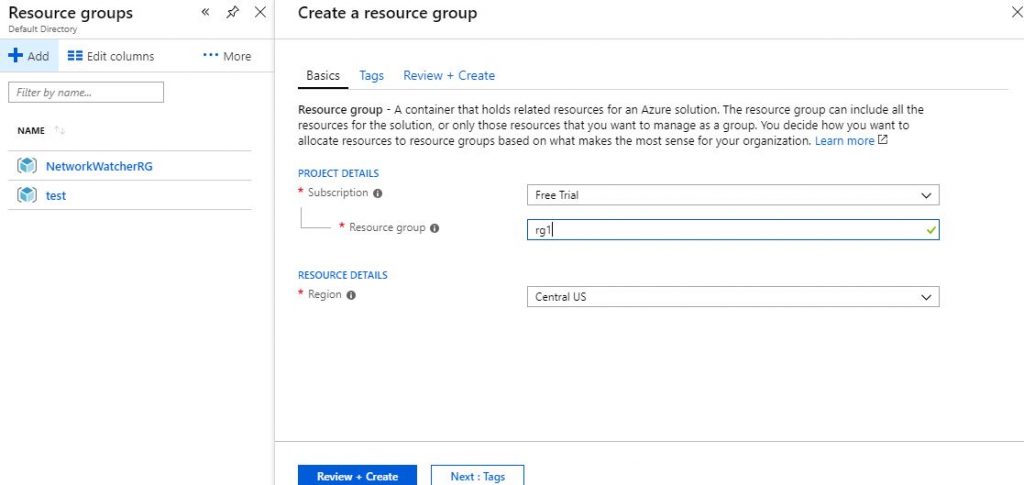
- Two resource group for each virtual network. Here I am creating “rg1” in “Central US” and “rg2” in “East US”.


- Next step is to create virtual network under both the resource group. Here I am using Vnet1 for rg1(resource group 1) and Vnet2 for rg2.


So, Vnet1 is located in Central US and Vnet2 is in East US. When creating virtual network, please avoid overlapping of IP address with other Vnet as it may create conflict.
- After creating Vnets, Create gateway subnet under both Vnet’s. Gateway subnet is must for making connections with virtual network gateway. To create gateway subnet , Navigate to >>Resource group >> Virtual network >> subnet >> gateway subnet.

Click on the “+Gateway subnet” icon and create one. Do not forget to create gateway subnet in both the Vnet(Vnet1 and Vnet2).

- Next step is to create and configure virtual network gateway under both the resource group. Search “virtual network gateway” in the market place and click on create. In the new window, there are different options to set. First one is name ,In the “VPN type” select the option “Route based” and select the location as “Central US”. Once the location is set, All the Vnet’s under this location will be listed there. From the “Virtual network” option, select “Vnet1”. Then create a new IP for this gateway and click on create. Do the same for Vnet2. Create another virtual network gateway, set the location as “East US” and select “Vnet2”. So Virtual network gateway is configured for both Virtual network.
Virtual network gateway settings for Vnet1
- Name: Gateway4Vnet1
- Gateway type: Select VPN.
- VPN type: Select Route-based
- SKU: Select the gateway SKU you want to use
- Public IP address name: IP1
- Location : Central US
- Virtual Network : Vnet1
Virtual network gateway settings for Vnet2
- Name: Gateway4 Vnet2
- Gateway type: Select VPN
- VPN type: Select Route-based
- SKU: Select the gateway SKU you want to use
- Public IP address name: IP2
- Location : EastUS
- Virtual Network : Vnet2


- Next step is to create connection in both virtual network gateway to setup connection from one region to another. So, To create a connection from Central US to East US, we will configure connection in Virtual Network Gateway for Vnet1 and To set up connection from “East US to Central US”, configure connections in “Gateway for Vnet2”.
To create connection in “ Virtual Network Gateway for Vnet1 “, Go to resource group >>select rg1 >> select the virtual network gateway(gateway4Vnet1) >>click on connection and select ADD.

In the new window, set the options as follows and click ok
Connection for “gateway4Vnet1”
- Name: Enter .Vnet1toVnet2
- Connection type : Vnet to Vnet
- Shared key: Enter abc123. You can create the shared key yourself. When you create the connection between the VNets, the values must match.
- First Virtual Network Gateway : gateway4Vnet1
- Second Virtual Network Gateway: gateway4Vnet2
- Resource Group : rg1
So, We have setup connection from virtual network located in Central US to East US.

Now setup connection from East US to Central US.
Connection for “gateway4Vnet2”
- Name: Enter .Vnet2toVnet1
- Connection type : Vnet to Vnet
- Shared key: Enter abc123. You can create the shared key yourself. When you create the connection between the VNets, the values must match
- First Virtual Network Gateway : gateway4Vnet2
- Second Virtual Network Gateway: gateway4Vnet1
- Resource Group : rg2

Once both the connections are configured,Go to the Virtual Network Gateway” and you can see the status of newly created connections. If the status is connected, then you can test the connection.

- Now, it’s time for testing. Create two virtual machines VM1 under the virtual network “Vnet1” and “VM2” under Vnet2 ie two vm’s in two different regions.


Once the deployment is completed, check the private IP of both VM’s using “ipconfig” command and ping to other VM. Here, the IP of VM2 is 10.2.0.4 and I am pinging from VM1. You can see the response in below image which indicates the vnet to vnet connection is configured successfully.

Do you need any expert advice on How to Setup Vnet to Vnet connectivity in Azure?
We have an expert team to guide you
Thanks for dropping by. Ready for the next blog?
The post Vnet to Vnet connectivity in Azure appeared first on Sysally.